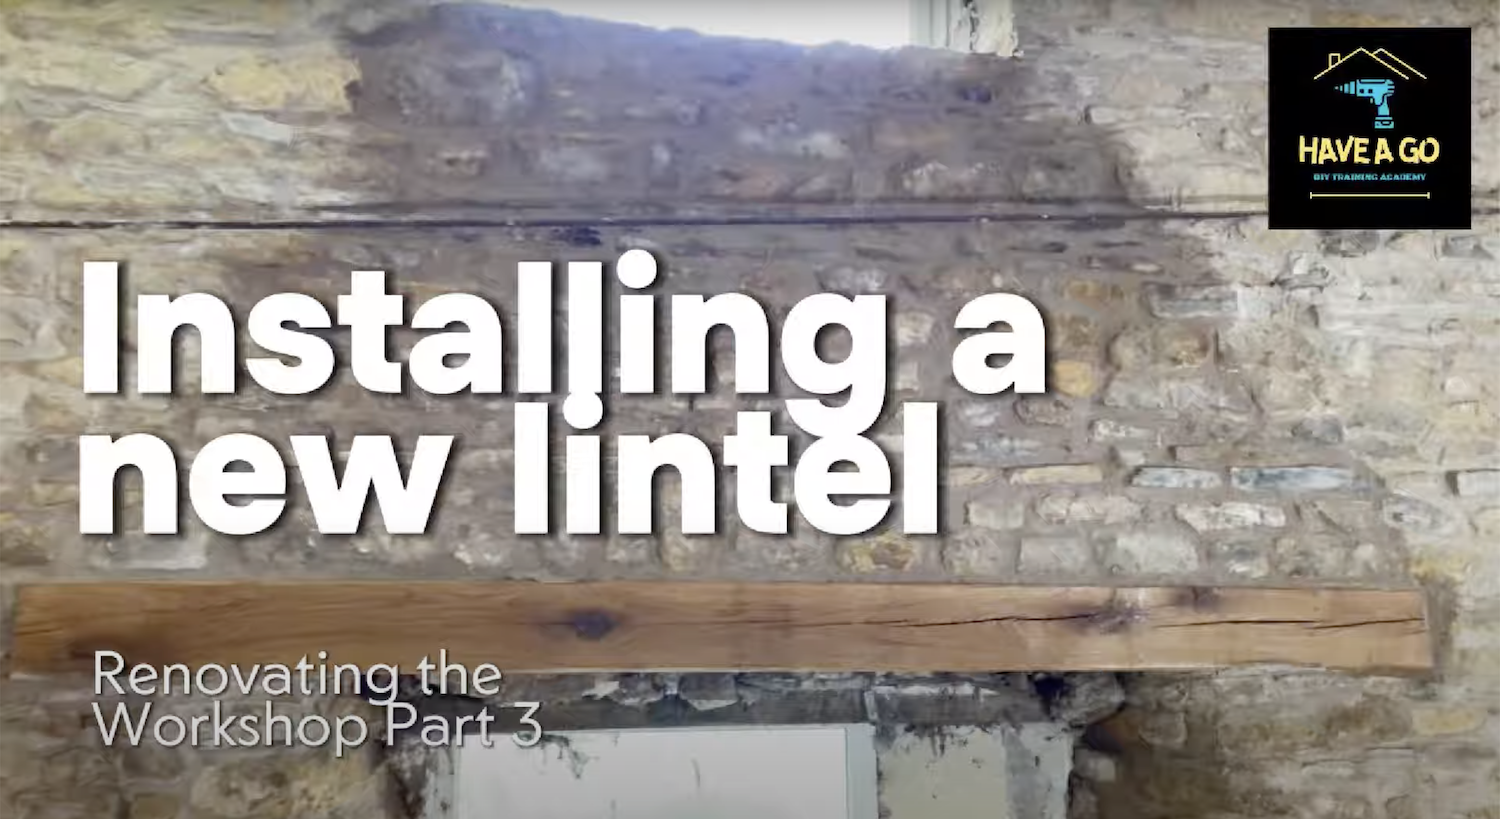
Installing a Traditional Oak Lintel: A Step-by-Step Renovation Guide
The old wooden lintel in our workshop had completely perished, so recently, I had to replace it. When renovating old buildings, replacing structural elements like lintels requires careful planning and using traditional techniques. Half the problems we’ve had in our workshop are because the previous builder slapped in modern materials that do not give, or look good in this setting. In this guide, I’ll walk you through my recent experience installing an oak lintel in my workshop, combining traditional materials with proper safety measures.
Watch the video:
Planning and Preparation
Before beginning any structural work, proper preparation is essential. The key materials needed include:
- Cut and seasoned oak lintel (pre-treated with oil)
- Acrow props (acros) and strongboys for temporary support
- Lime mortar for rebuilding
- Original stonework carefully set aside for reuse
- Traditional masonry tools
- Safety equipment
Supporting the Wall
Safety comes first when working with load-bearing walls. The initial setup involves:
- Installing acrow props on either side of the opening, positioned slightly back from the wall
- Attaching strongboys to the props to spread the load across the wall surface
- Gradually tightening the props to take the weight of the masonry above
- Adding additional props as needed to ensure complete support
Removing the Old Structure
With the wall properly supported, the next phase involves careful deconstruction:
- I didn’t because mine was such a mess, but you may wish to photograph and document the existing stonework pattern
- Carefully remove stones from above the existing lintel
- Taking out the old lintel while maintaining wall support (you will need help!)
- Cleaning and preparing surfaces, removing old mortar and chipping off any materials that aren’t meant to be there, such as modern cement.
Creating a Level Bearing Surface
A level surface is crucial for the new lintel to properly distribute its load:
- Checking both sides for level using a spirit level
- Building up or cutting down the bearing surfaces as needed
- Ensuring both ends will have adequate support (minimum 150mm bearing)
- Cleaning away any debris or loose material
Installing New Lintels
The installation of the prepared oak lintel requires:
- An extra set of hands!
- Positioning the lintel with adequate bearing at both ends
- Ensuring it’s perfectly level
- Packing any small gaps with lime mortar
- Allowing the mortar to begin setting before continuing
Rebuilding the Wall Above
Reconstructing the stonework requires patience and attention to detail:
- Preparing a batch of lime mortar to traditional specifications. See my blog about rebuilding stone walls here.
- Beginning reconstruction from the lintel upward
- Following the original stone pattern if documented earlier
- Ensuring proper bonding between stones
- Maintaining consistent mortar joint widths, as far as possible with uneven stones and filling in gaps with smaller stones or lime.
- Working systematically until reaching the top of the wall
Final Steps and Aftercare
The completion phase is crucial for long-term success:
- Allowing the lime mortar to cure properly (Maintaining good ventilation while keeping it slightly damp to prevent overdrying, see my blog on this process here.)
- Gradually releasing the pressure on the acrow props
- Monitoring for any settlement or movement
- Cleaning any mortar splashes from the oak lintel
Maintenance Considerations
To ensure the longevity of your new oak lintel:
- Monitor for any signs of moisture ingress
- Ensure proper ventilation continues around the timber
- Check periodically for any movement or settlement
- Consider applying additional wood treatment as needed every few years
Conclusion
Installing an oak lintel using traditional methods requires careful planning, proper support, and attention to detail. By following these steps and using appropriate materials, you can ensure a structurally sound installation that maintains the integrity of your building.
Remember that structural work should only be supervised by those with proper experience. You may need to check local building regulations and seek appropriate approvals before beginning such work.


