Bringing History Back: Restoring an a Stone Wall
Hey everyone! I’m Ben Woodcraft, and I’m here to share with you our progress on the makeover of my workshop. I’m prepping it for some beginner DIY classes, and let me tell you, it’s proving quite the ride!
Let’s talk about the big job we’re tackling in this post: the old stone wall in my workshop. It’s seen better days, that’s for sure. But with a little elbow grease and some know-how, we’re turning it into a real gem.

Understanding the Problem
When I first looked at the wall, it was a real mess. Layers of cement and plaster were covering it up, and that was causing all sorts of issues. It was all over certain areas of the wall and all around the bottom of the window openings. The layers were masking the wall’s inherent beauty, trapping moisture within and compromising its integrity. It was evident that conventional repairs had only exacerbated the issue, leading to further deterioration. Moisture was getting trapped, making things damp and causing damage. Modern materials are not meant for these old walls which need to breathe. They seal it all up and then it becomes damp. The remaining plaster, where we haven’t started, is completely saturated. The paint can’t even stick to it anymore because the moisture in the walls can’t escape or evaporate. Not good!

Furthermore, they’ve done repairs haphazardly with bricks, sand and cement.

Uncovering Hidden Gems
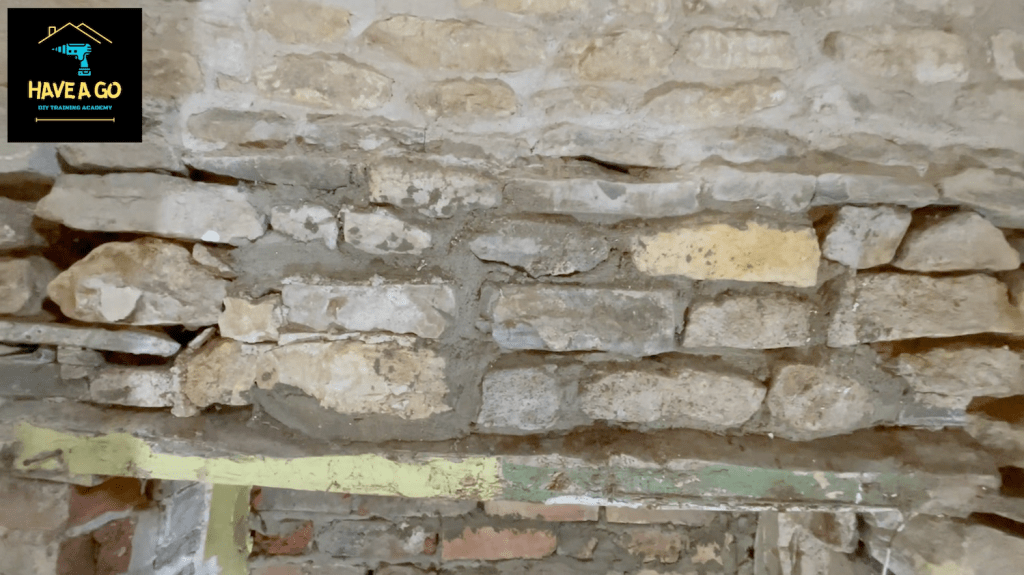
So, we’ve been chipping off a load of cement render and plaster, stripping away all the gunk. As I chipped away at the layers, the wall revealed glimpses of its original character. Amidst one part of the wall, remnants of ancient muck and straw render hinted at the original building methods, but modern render had been slapped on top.
These walls are 170 years old minimum. They’re made of local stone and the mortar is just mud. The brilliant thing about mud is it dries itself out and it breathes. The rain hits one side which allows it to evaporate through and out. Unlike bricks, the stone can also move slightly with the movement of the ground, and that’s brilliant. It prevents structural calamities and is one reason ancient buildings are still standing when modern ones fall down! The old ways are the better ways, that’s what they say, isn’t it? And that’s true.

Respecting the Old Ways
Acknowledging the wisdom of the old ways, and trying to restore this as I would an old stone wall in a heritage property, I’ve made a conscious decision to restore the wall using traditional techniques. I’m not using mud! But lime mortar, known for its breathability and compatibility with historic masonry, has become my ally in this endeavour. Lime mortar is great for old walls like this. It still lets them breathe but it keeps things sturdy. So you’ll see that I’ve been doing a lime mortar pointing up. A few patches have still got to be repaired, but most of the top half of the wall is done.
Fixing Things Up
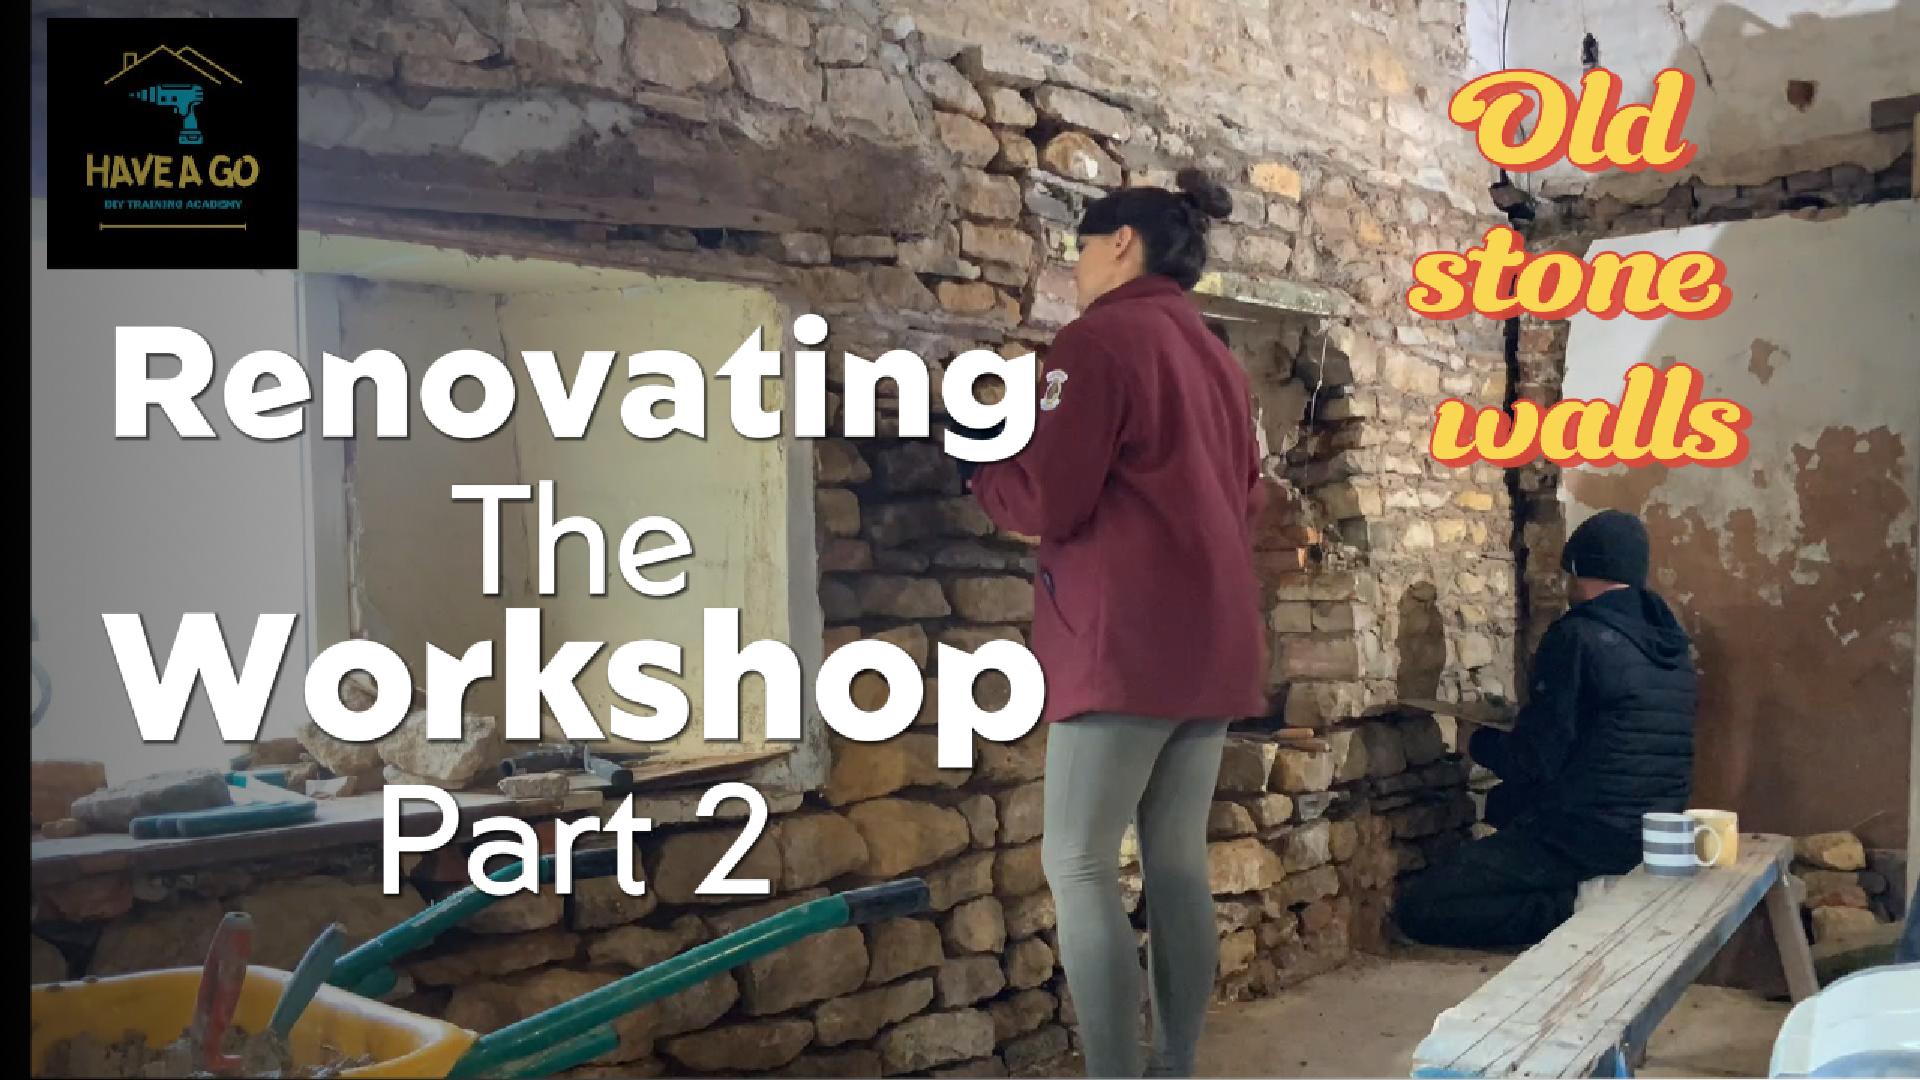
Our task for this day was tackling repointing the bottom half of the wall. Watch the video to see the time-lapse of our work!
We had some repair work to do too. Someone in their wisdom came along and slapped cement in one of the old window openings, with bricks that don’t move or breathe as well. There’s not a lot we can do about the bricks, but we’ll make the most of the opening by building a storage unit there at some point. In this video, we put a new sill on where they brought a lead pipe through and hammered cement into the hole. (We’d previously removed all of that, pulled away the loose stones and re-bedded them.)

The gaps and holes in the wall we started putting back together, finding a snug spot for each stone and bedding in with lime mortar. We found some stones in the garden. They needed a bit of cleaning up, but they’re original stone wall pieces as well, so we used some of them.

Originally, this stone wall would have been rendered, you wouldn’t see the stones on the inside. But, instead of covering up the stones, I want to show them off! So we’re doing all the repointing really nicely so we can make a feature of it.

It took a lot of care and attention. Once all the mortar is applied, you have to go around pressing it in with your fingers to ensure there’s no gapping.

Lime is much more time consuming to work with than cement and you have to keep it damp. We regularly spray the wall with water as we work.

A few hours into drying, you have to brush it all down, then spray it again, and repeat that process for two days afterwards.

Looking Forward
I’ve got to tie the two walls together in the corner because you can see the daylight through there, so I’m going to put some Helix ties in with restoration lime grout to hold them in place. That will bind the two together because outside there’s some big cracks where there’s movement between the two walls.
But the next major job is replacing the oak lintels where the original lintels have completely rotted and, instead of replacing them, they just “fixed” the crumbling wall by shoving cement in the gaps! I’ve got new Oak lintels which we’re going to prepare later on. I’m going to plane them off, oil them all up, so they look really nice. We’re going to take down all these stones, going to put the new Oak in and rebuild this stone wall.

As for the brickwork, and random bits of modern materials? The plan is to tidy that up a bit, then render it in lime render, to make it all blend together nicely.
You’ll have to tune in next time to see all of that!
Conclusion
Restoring an old stone wall isn’t just about making things look nice—it’s about honouring the past and making something really special. I’m so grateful to be part of this journey, and I hope you’ve enjoyed following along! There’s still more to do. This workshop is going to be a real hub for DIY lovers, and I can’t wait to see it all come together.
Catch you later!
Ben
P.S. Remember you can watch the video on Youtube here. Don’t forget to like and subscribe!


