Several years ago, we set up this business with the intention of helping you to Have a Go at doing DIY yourself! (Originally, it was called Trade Tricks, if you’re wondering where the old business went.)
Unfortunately, we then lost our premises and have been searching for another since.
Now we’ve found one!
Checkout our new workshop:

Yup, it needs some work doing to it…
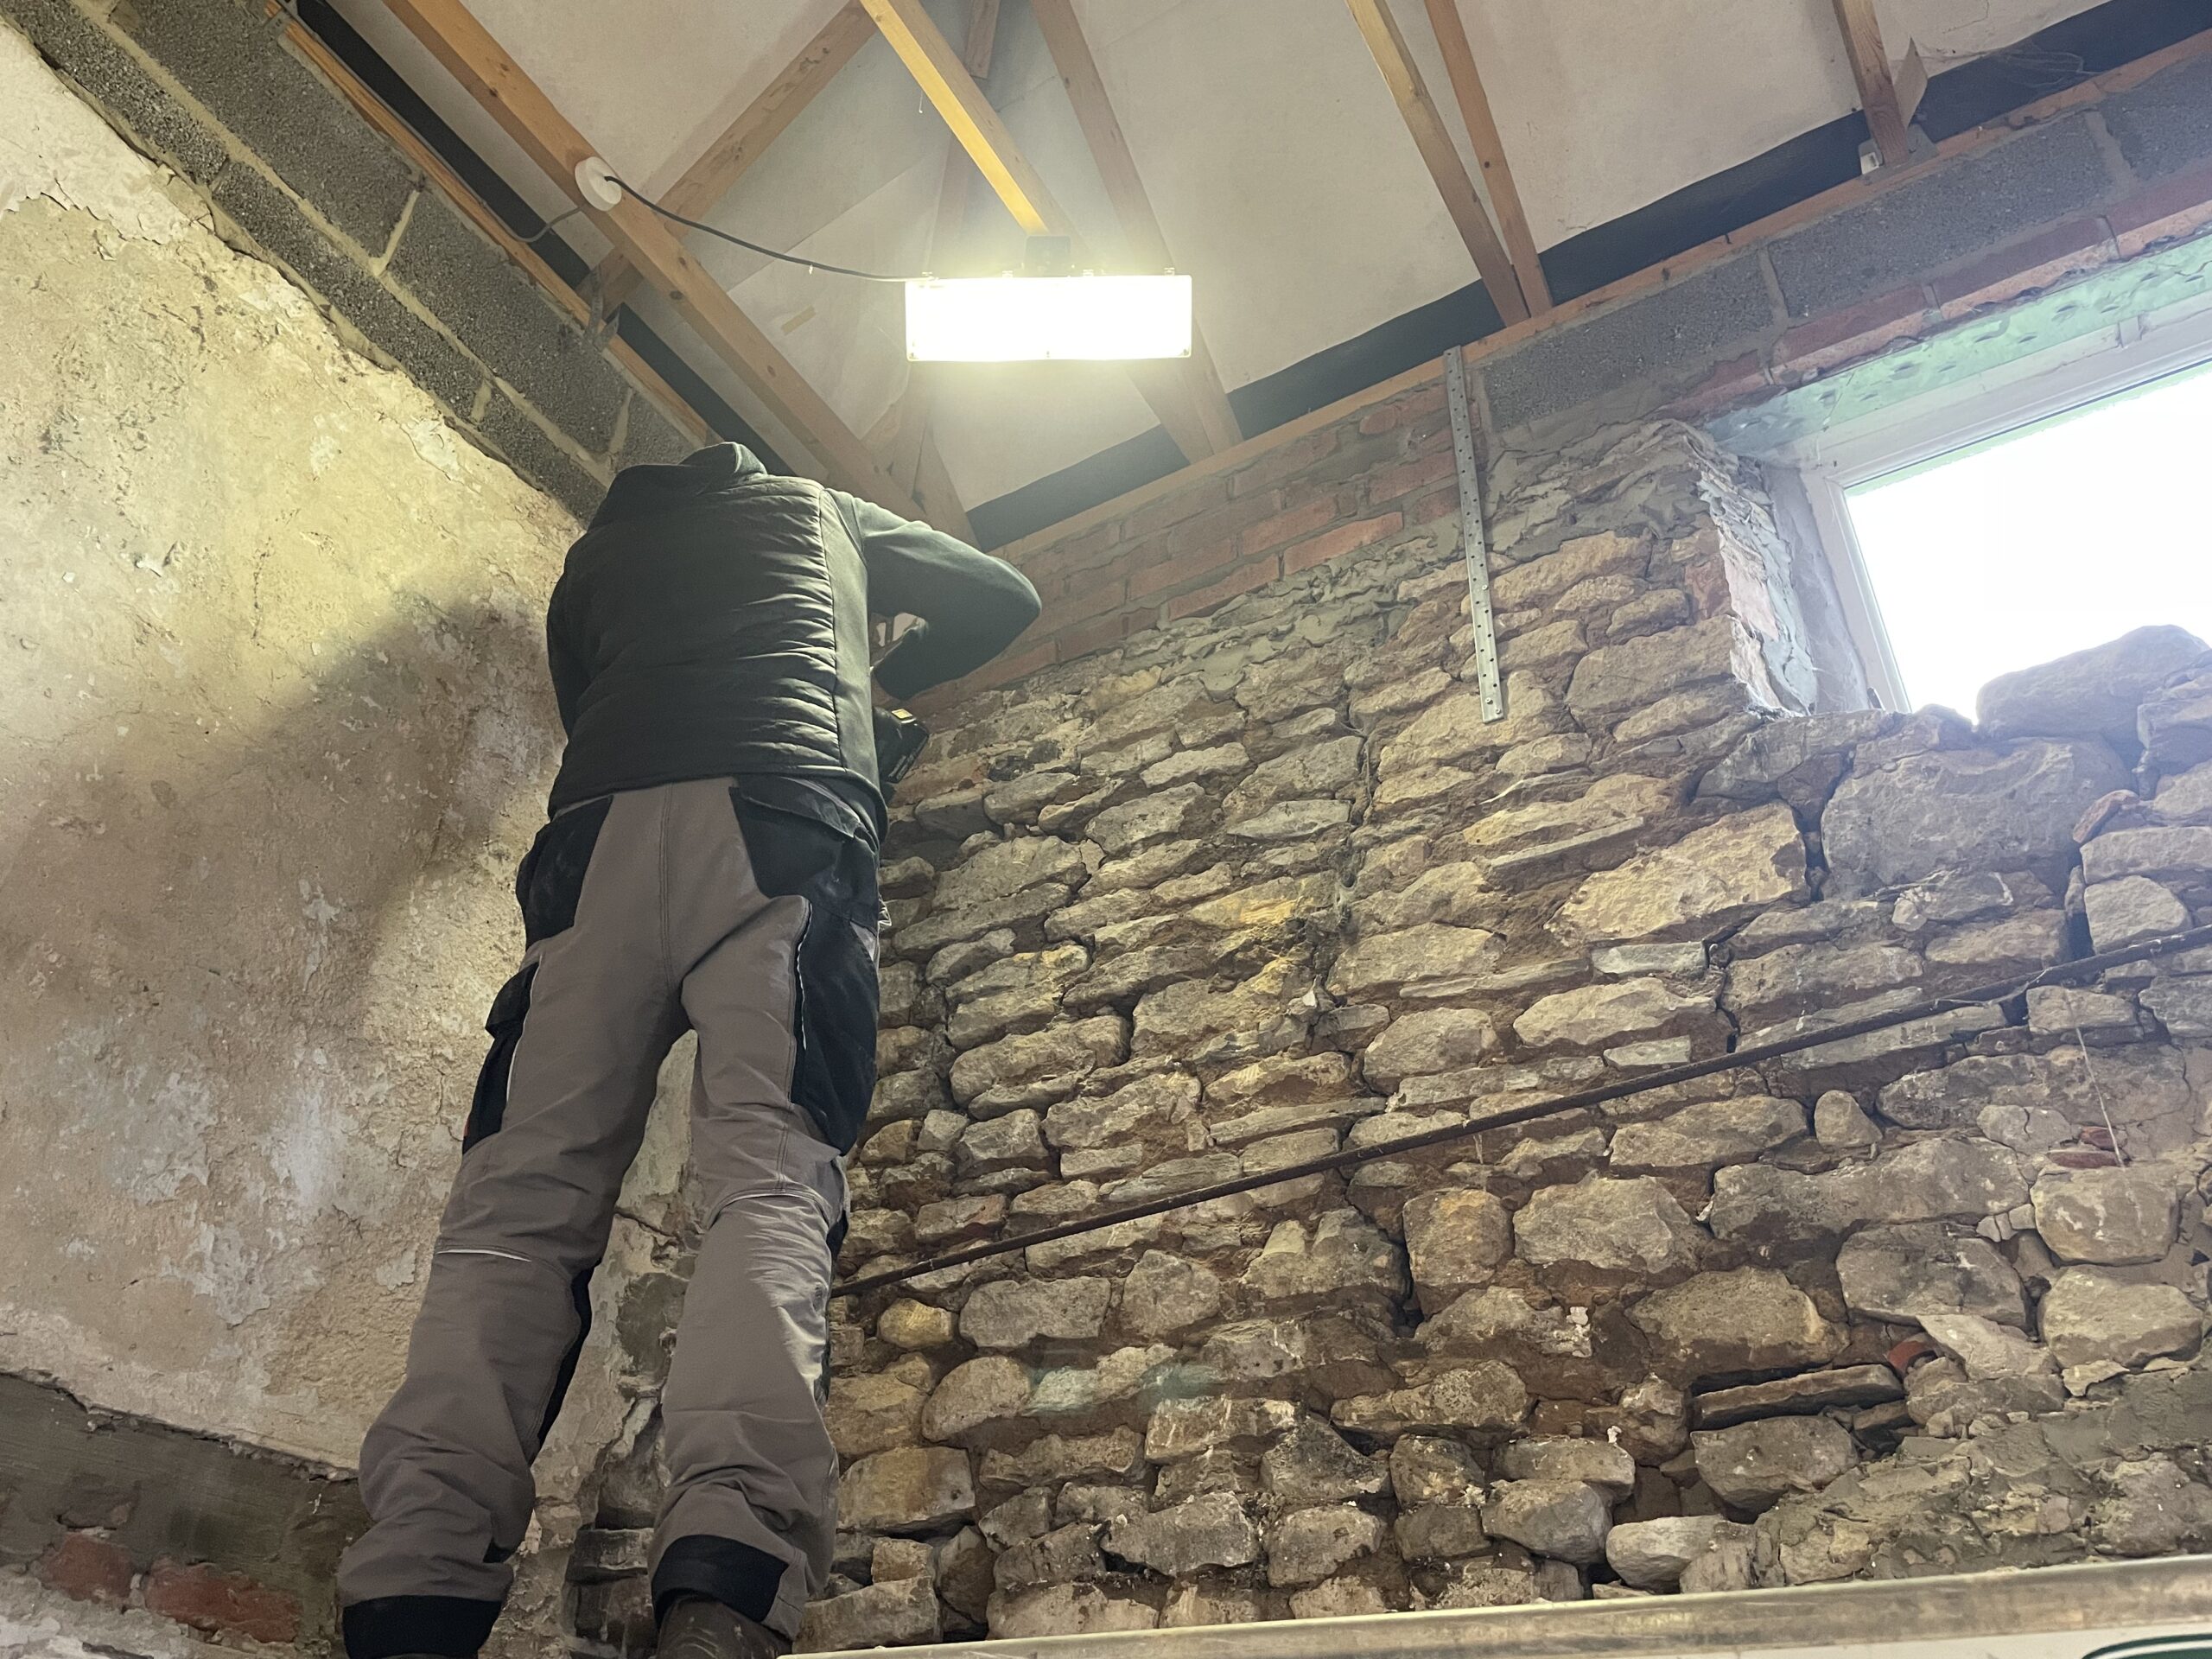
So we’ve moved in, cleared it out and the first thing to do to get it ready for the in-person launch of “Have A Go: DIY Training Academy” is to sort out the old stonework and replace the lintels over the windows.

Here’s Ben, chipping the old render off the far wall. To say there’s cracks is a bit of an understatement, but this wall is at least 180 years old and we believe existed before the original house was built. It’s had ivy growing on the other side and nests galore, so the fact it’s still standing is pretty impressive.
With the render stripped off, it’s time to gently chip out the cement someone had re-pointed it with in the past (should have been lime mortar) so we can do it properly. We discovered it was built simply with a local sand and mud mix between the original stone – always intended to be rendered, not on show. But we reckon it’ll look pretty nice with a bit of TLC.

Now for re-pointing with the right stuff. Here’s the lad having a go. You can see the stonework I’ve done and how nice it’s starting to look, and the original condition at the section we’ve not touched yet.
He did alright, didn’t he? Not bad for a first attempt at re-pointing, in lime mortar no less. Just goes to show if my fourteen year old can have a go, then you can too!

Here’s the section that I did for comparison:

There’s a lot more to do though. So we better get back to it! Check in to the next blog to see how we’re getting on, or sign up to our newsletter to stay posted.


