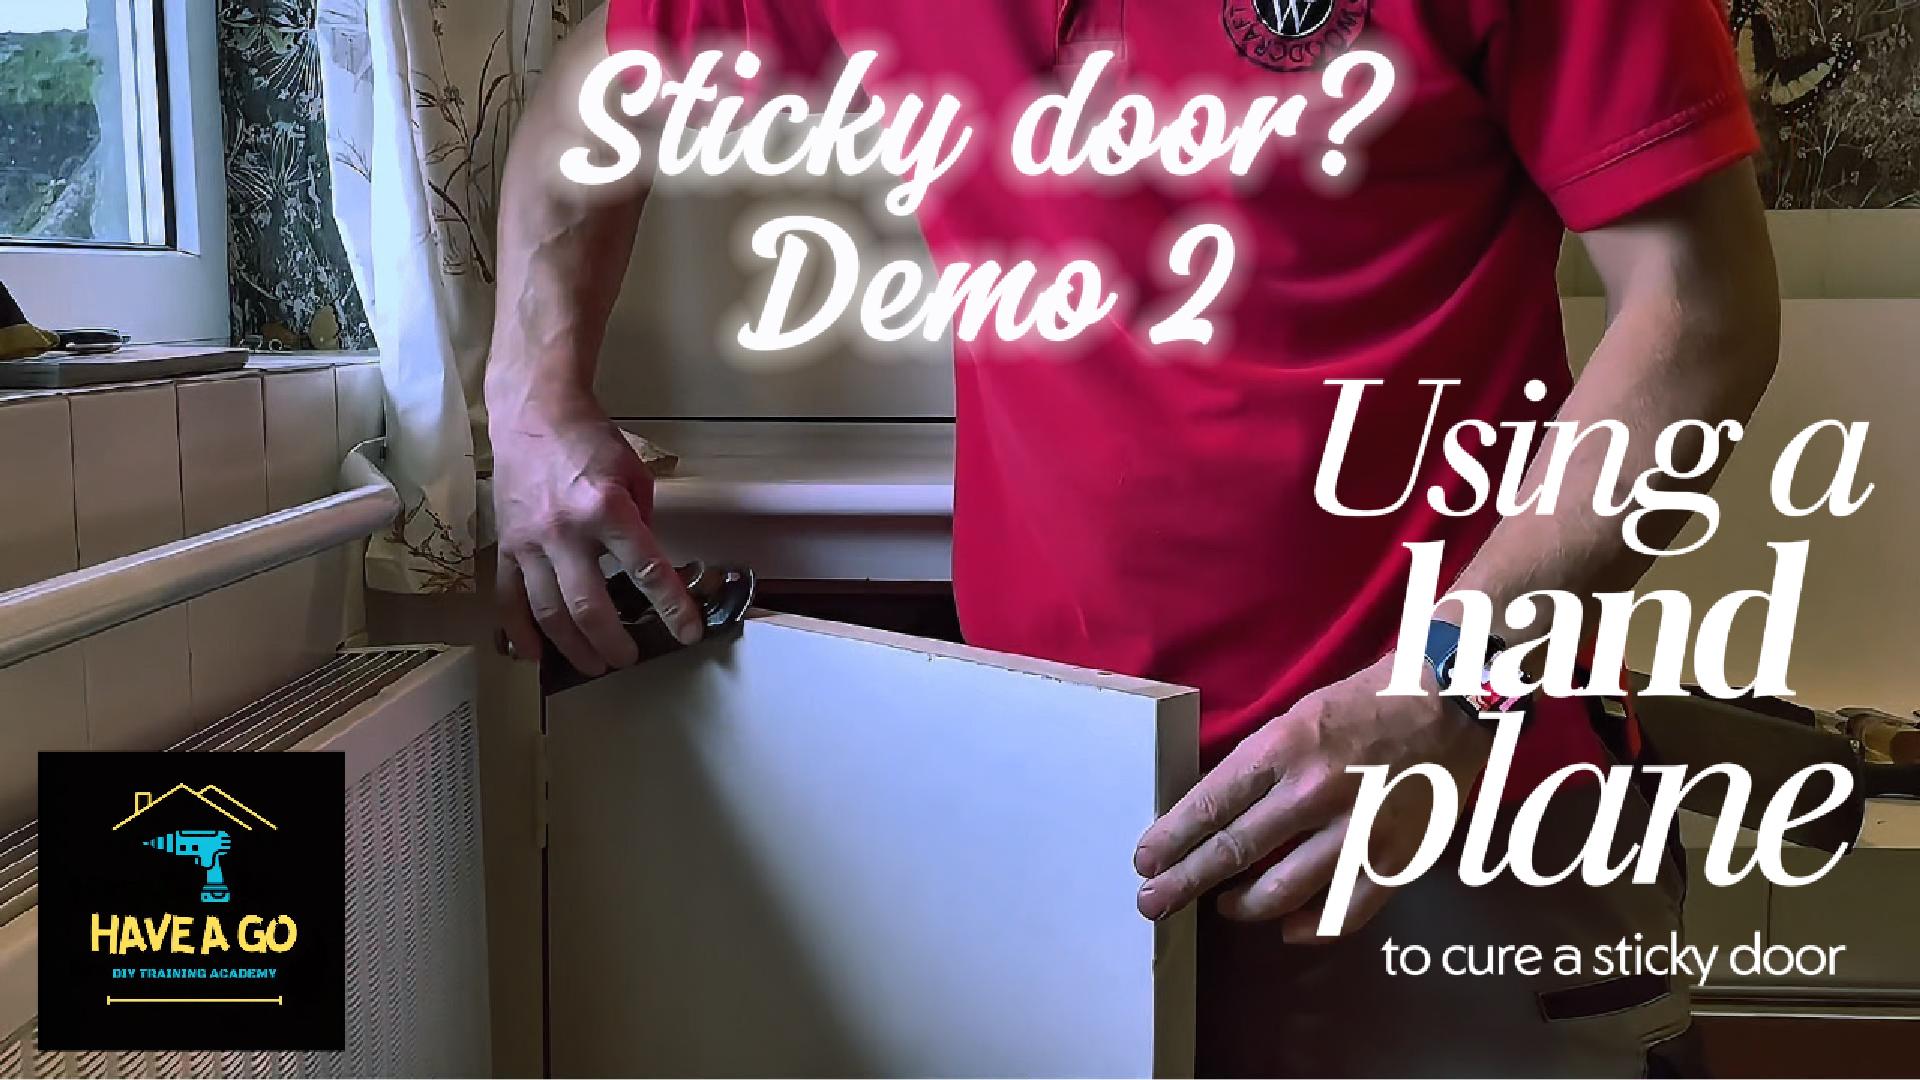
When working on an old cupboard in a bathroom that’s eventually slated for replacement, sometimes a simple door adjustment can make all the difference. This tutorial walks you through the process of how to plane a door that’s been hanging for years and covered in paint, using manual tools that you might have inherited.
Watch the video for: How to plane a door, Woodworking techniques
Intro to Hand Planes:

Jack Plane
Versatile for initial shaping
Longer (14-15 inches)
Used for larger surface leveling
More aggressive material removal

Block Plane
Typically 6-7 inches long
Smaller, more maneuverable
Ideal for tight spaces
Great for end grain and fine adjustments
I demonstrate the electric plane in this blog.
The Challenge:
The door was touching at the top two corners, with a less-than-ideal margin. The goal wasn’t a perfect restoration, but simply to get the door to close properly.
Planing Techniques:
- Choosing the Right Tool: The jack plane presented a challenge due to its size – it would likely hit the door frame before completing the job. Nevertheless, I started with it to take off the paintwork and top layer of wood. The block plane is a more versatile solution, especially in tight spaces. Although I used both on this adjustment, you can effectively use just the block plane for smaller jobs.
- Preparation
- Ensure plane blade is sharp (watch your fingers!)
- Measure the gaps you have in different spots.
- Adjust blade depth carefully
- Secure the door (in this case, I use my foot to stabilize it)
- Planing Process
- Always plane with the wood grain
- Use light, consistent passes
- Remove material incrementally. Carefully adjust the plane’s blade so you are starting with just a small amount at a time. Don’t try to take all 2mm off at once as you will run over the wood several times. You can always take more off, but you can’t put it back on!
- Pay attention, regularly stopping to check your margins
- Focus on maintaining control, adjusting the blade as necessary.
4. End Grain Handling: Always push into the door when planing end grain. Planing in the opposite direction risks chipping the front lip due to lack of support. This approach ensures a clean, sharp edge.

5. Adjust the sides of the door by pushing upwards while planing
6. Final Touches: Tighten any loose hardware (in this case, a magnetic catch with flat-headed screws)
Pro Tips:
- If you only have a block plane, don’t worry – it can be even more effective in tight spaces
- Take your time and make small, controlled adjustments
- Prioritize evenness over aggressive material removal
The Result: A door that closes smoothly and looks neat, achieved with minimal intervention and careful craftsmanship.
Bonus Insight: This approach is perfect for temporary fixes in spaces awaiting full renovation, demonstrating that sometimes a little woodworking skill can extend the life of existing fixtures.
Practice makes perfect
If you want to learn these skills under my supervision, how about coming on our woodworking course? We cover Essential woodworking skills, DIY door repair, Door planing techniques, door adjustment, and door hanging! All the details are here.


One response to “Fixing a Tight Door: A Woodworking Guide”
[…] In this video, I’m going to use the electric plane and finish the edges with a block plane, but there are several ways you can do it, which is why I have multiple articles and videos. See me using the jack plane here. […]